Refacing Apartment Kitchen Cabinet Doors
Hi my name is John and I am the on site apartment manager for the building that I live in. A part of my responsibilities is to do some woodworking for the owners.
Recently we have been refinishing the kitchen cabinet doors and frames.
This process involves a few steps to complete. And of course the completed product becomes a good selling point for prospective tenants.
We do this preferably between tenants when we will not have to work around a tenant. Otherwise, if they are still living there we do need to get the tenant’s permission to work around them.
Once we start there are essentially five steps to refinishing the doors and cabinet frames.
- First, setup the work stations in the basement of the building where we will be doing all the heavy lifting to refinish.
- Second, remove doors, drawers and hardware.
- Third, strip the old finish off the doors and drawers. And wash the stripped wood.
- Fourth, repeat this with the cabinet frame in the actual apartment.
- Fifth, start the finishing process.
Each of these steps has a number of sub-steps to complete them.
First Step
Setup the work stations in the basement of the building where we will be doing all the heavy lifting to refinish.
It is important to have the required work station or stations needed to complete the task at hand. In refinishing wood you are going to need at least two stations.
I have found that if I do the finishing in the area that I do the stripping I tend to not get the results I am looking for – saw dust and grit in the finish on the product. Of course it is always a good or needed idea to have proper ventilation for both stripping and finishing.
Working in a building having one long basement for five addresses allows me to setup two workstations; one for the stripping and one for the finishing.
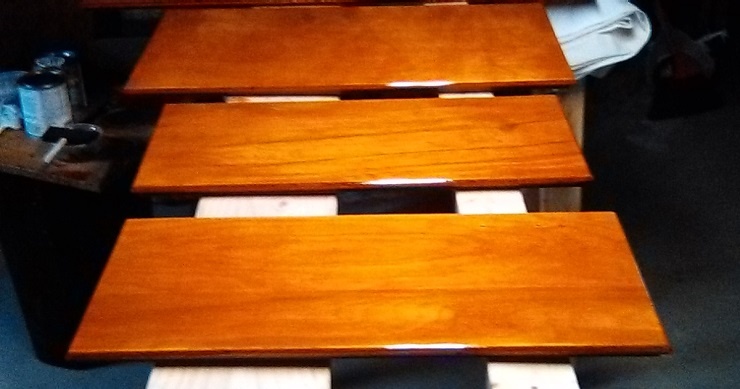
In one area we use an old fiberglass ladder to place the doors on for stripping. In the finishing area we have inexpensive easy to assemble tables to place the prepared wood doors and drawers for finishing.
We make sure that we have enough light and ventilation for both processes. An overhead florescent for light and a couple of fans with the basement door open for proper ventilation.
Once we have the two work areas setup we can begin with working on the next step to refinishing apartment kitchen cabinet doors.
Second Step
Remove doors, drawers and hardware.
This step is for the most part pretty straight forward. You will need of course the right screw driver and / or bit to remove the doors from the cabinet frame. You are also going to need enough zip lock bags to keep all the hardware together in the proper place.
The building that I live in is old school and unfortunately has small flat head screws requiring a flat had screw driver. If you are like me you almost always prefer working with Phillips screws and screwdrivers. With the small cabinet door screws you can have your work cut out for you trying to get the screwdriver to sit properly in the screw in order to remove it.
Anyhow I digress.
When you remove all the screws from the doors they all can be put into the same zip lock bag. I didn’t find any issue with the interchangeability of the screws.
However, for the door hinges that is a completely different story.
When we first started on this project the previous owner had me start with my apartment. I went through the steps that I will be laying out here. The owner was so pleased with the finished product that we set out on doing all the apartments in the building. Fortunately for me and the second helper hired on there are only twenty apartments.
However, with my apartment and before the second helper started I was throwing all the door hinges into one zip lock bag.
This was a mistake.
Apparently, hinges get fitted to each door uniquely. And if you change them up the doors have a tendency not to fit and close properly!
So, my mistake and lesson learned it is highly recommended to put each doors hinges into a separate zip lock bag labeling them to which cabinet door the go to.
I am including an image here of my kitchen cabinet doors. When looking at the picture you can see how I labeled the zip lock bags. Upper Left Tall, Upper Right Tall; Upper Middle Left, Upper Middle Right, etc.
This made putting them back up a much easier job. Even if you mix up the two on one door it certainly is easier to figure out which goes where than dealing with the entire collection of hinges from one bag.
With hinges in unique labeled zip lock bags I add a little stripper to each bag. Many of the hinges if not all got finish on them. This is because the doors were most likely originally installed without finish on them. The stain and finish was subsequently added after.
I let the stripper work on the hinges while I work on the doors.
Not to leave you hanging here, but I will have Part 2 of Refinishing Apartment Kitchen Cabinet Doors for you within a week.


